9 Days The Northern Circuit Route Itinerary is the longest hike route on Mount Kilimanjaro and the best route to use. It approaches the mountain from the west side with a drive from Moshi to Londorossi, once at the gate, all formalities will be completed like signing in and we continue with our hike through the Shira plateau, northern route, and hike to the summit. The 9-day Northern circuit includes an extra day spent at the Shira camp 2 to help with acclimatization. The route is recommended by tour operators because it offers a 360 degrees view of Mount Kilimanjaro, has great and beautiful scenery, has a high summit rate, and has low traffic.
The Northern Circuit route takes the same route and direction as the Lemosho route for the first two days before taking a different route to the northern slopes. It is quite challenging but easier as compared to other routes, it is a new route that has been introduced due to the high traffic on other routes and the 9-day hike is recommended because hikers have ample time to acclimatize. The nights will be spent in tents in the different camps set along the route and note that it is also possible to book the 9-day route on a full moon.
Arrival into Kilimanjaro Airport - Transfer to Moshi
You will be picked up from the Kilimanjaro International Airport and driven to your hotel in Moshi, where a briefing by our guide is carried out, and they also get to check your equipment to make sure that it is of good quality; if any is lacking, it can be rented on Day Zero for proper planning. If you plan on having us pick you up from the airport at an extra cost, you need to let us know in advance so that we can prepare for the occasion. Booked on bed and breakfast.
Moshi - Drive to Londorossi Gate - Hike to Mti Mkubwa Camp
Distance: 5.5 km
Duration: 3 to 4 hours
Elevation: 2100m to 2360m (Londorossi to Lemosho trail)
Elevation: 2360m to 2820m (Lemosho trail to Mti Mkubwa Camp)
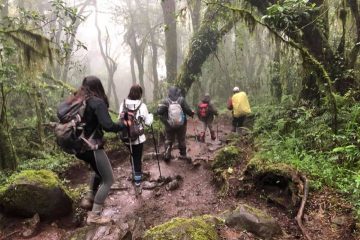
We drive from your accommodation to Londorossi Gate where we sign in and get our trek permits. After signing in, we continue with our drive until we get to the Lemosho trailhead (the drive is approximately an hour) and after lunch, our hike officially begins taking us through the undisturbed tropical rain forests for 2 to 3 hours to the Big Tree Camp also known as the Mti Mkubwa for the night.
Mti Mkubwa, hike to Shira 1 Camp
Distance: 8 km
Duration: 5 to 6 hours
Elevation: 2820 m to 3610 m
Zone: low alpine zone
The second day is a short trek starting from Mti Mkubwa Camp to Shira 1 Camp trekking through the last parts of the tropical rainforests into the low alpine zone through the Shira Plateau. Day 2 also rewards you with the first view of the breathtaking Kibo Peak.
Shira 1 Camp, hike to Shira 2 Camp
Distance: 7km
Duration: 3 to 4 hours
Elevation: 3610 m to 3850 m
Zone: High alpine zone
After breakfast, we continue with the hike through the Shira Plateau where you join other hikers using the Machame route and enjoy the beautiful scenery of the valley and the Western Breach. We then settle at the Shira Camp 2 for the night but note that since the Plateau is an open area, you need to prepare for the cold night. Hikers using the 8 -itinerary will continue towards the Shira Plateau ridge towards the Lava Tower and then back to the Moir Camp for the night. (Note that this is to help with acclimatization).
Shira 2 Camp, Hike to Moir Camp
Distance: 14 km
Duration: 5 to 7 hours
Elevation: 3850 to 4600m (Shira to Lava Tower) and 4200m to Moir Camp
Zone: high Alpine zone
After breakfast, the hike starts with us heading eastwards through the Senecio gardens as we enter the alpine desert zone. We take a detour to the Lava Tower also known as the Shark’s Tooth rock where lunch is served (the hike to Lava Tower is to help us acclimatize) and after lunch, we rejoin the northern circuit route heading down to the Moir Camp (climb high and sleep low policy).
Moir Camp - trek to Buffalo Camp
Distance: 12 km
Duration: 5 to 7 hours
Elevation: 4200 m to 4020 m
Zone: High alpine zone
The trek from Moir Camp to Buffalo involves a steady steep hike that will start from Moir Camp, a small detour to Little Lent Hill (for acclimatization) before heading back to the trail that will lead us to Buffalo Camp. The total time spent will be between 5 to 7 hours and we spend the night at the Buffalo Camp.
Buffalo Camp to Rongai Third Cave Camp
Distance: 8 km
Duration: 5 to 7 hours
Elevation: 4020 m to 3800 m
Zone: high and low alpine zone
The day 6 hike is shorter than the previous day and by this time you will be probably used to the altitude and getting better at acclimatization. The trek starts with a climb towards Buffalo ridge before descending to the Porfu Camp where lunch is served. The trek will then continue eastwards along the northern slopes which lead to the 3rd Cave where we spend the night. (note that we shall get to the 3d cave just around mid-day).
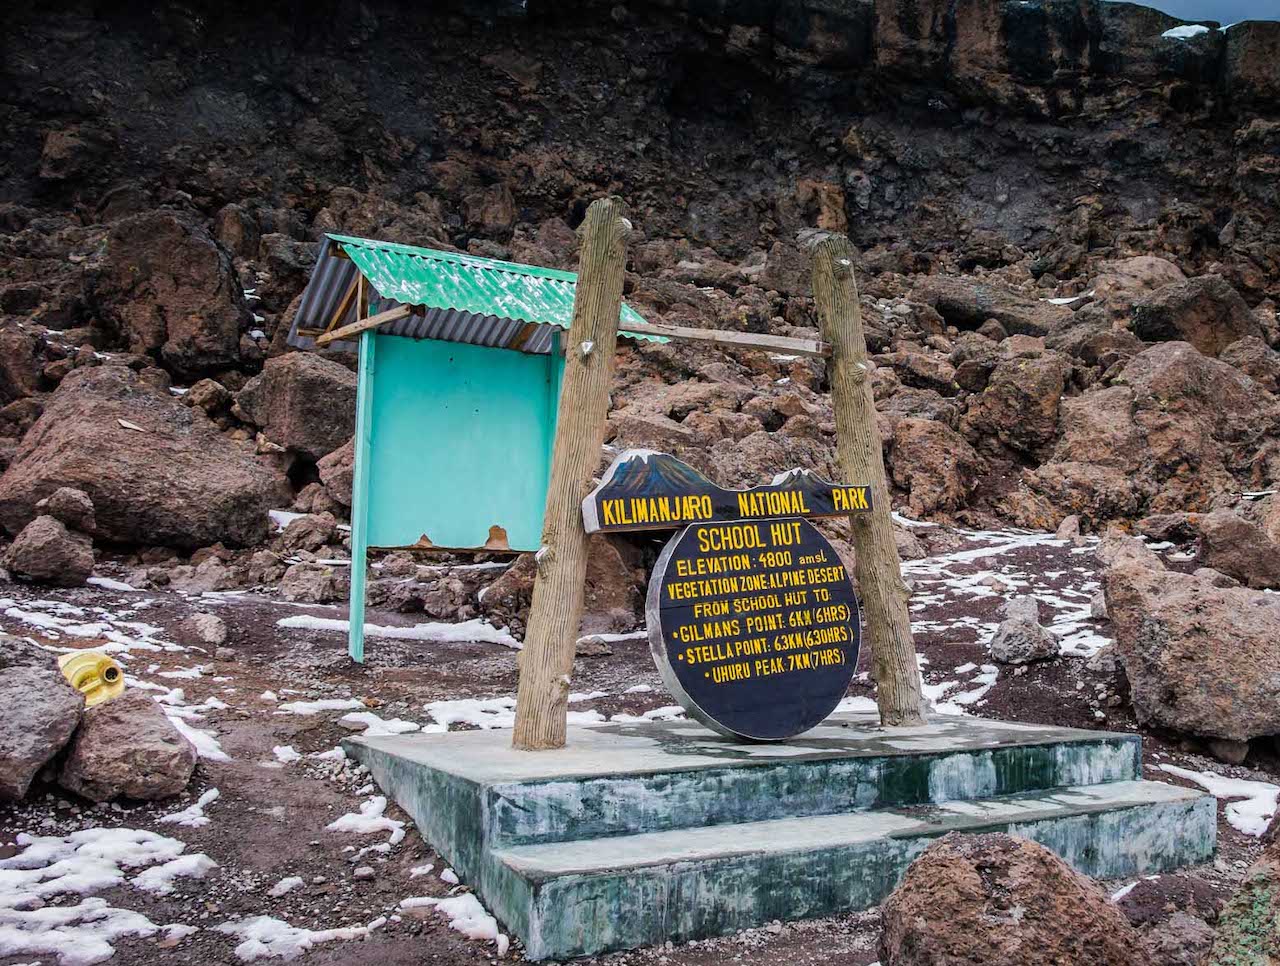
Rongai Third Cave to School Hut
Distance: 15 km
Duration: 4 to 5 hours
Elevation: 3800 m to 4800 m
Zone: High alpine zone
We climb steadily towards the saddle that is between Kibo and Mawenzi Peaks and then proceed to the School Hut Camp in the early afternoon. The rest of the day is spent resting and relaxing in preparation for the summit day. Make sure that you have an early dinner and sleep because you will be woken at 11:30 pm for the summit hike.
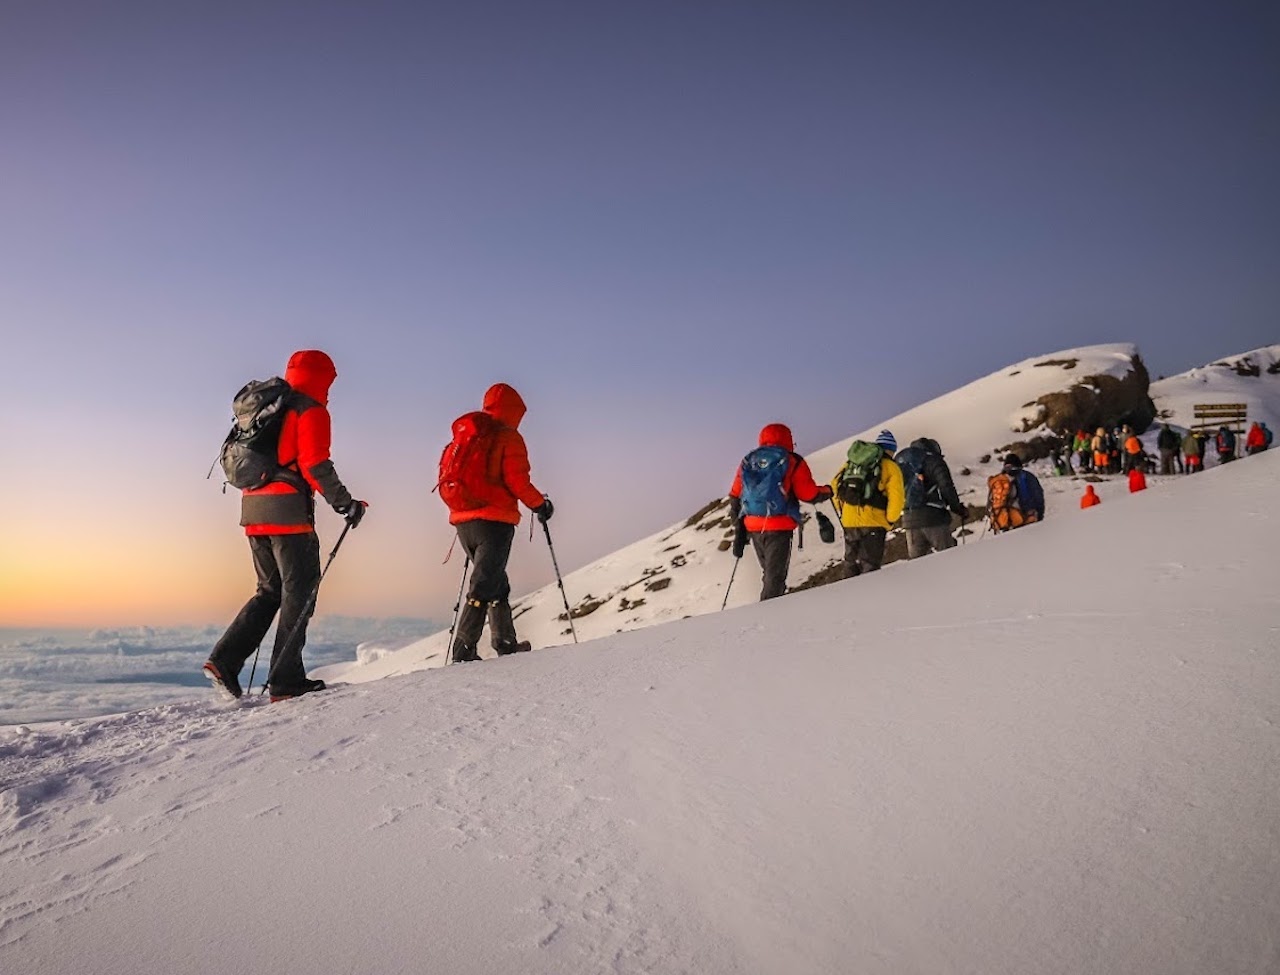
School Hut to Uhuru peak (Summit) Descend to Millennium Camp
Distance: 6 km
Duration: 6 to 8 hours
Elevation: 4800 m to 5895 m
Zone: Glacial/arctic zone
Day 8 is the most challenging route both mentally and physically and it starts between midnight and 2:00 am after a light meal. We begin our ascent to the Peak through the dark with the guide of our headlamps and guides along the slopes of Kibo Crater, we then get a short break at the Hans Meyer cave before continuing to Gilman’s Point where we get to rest and enjoy the dawn. The hike from School Hut to Gilman’s Point is approximately 5 to 6 hours but note that you still have an hour or two to get to Uhuru Peak. After the short rest, we brave the snow and continue to the Peak where we shall have amazing views of the surrounding area. Take photos and celebrate because we will spend a short time at the peak and then start with the descent.
Descent
Distance: 10.5 km
Duration: 4 to 6 hours
Elevation: 5895 m to 3950 m
The descent from the peak takes you around the crater rim towards Stella Point at 5739 m, turn southwards towards the Kibo slopes through the Barafu Camp where we take a short break before continuing to Millennium Camp for our last night on the Mountain. There are however some hikers who retrace their footsteps and use Gilman’s Point while descending through Horombo Hut while using the Marangu route.
Millenium Camp to Mweka gate. Transfer to Moshi / Arusha
Distance: 10km
Duration: 3 to 4 hours
Elevation: 3950 m to 1640 m
Zone: Rainforest Zone
Day 9 is our final day on the mountain and it is a short hike of 3 to 4 hours from the Camp to the Gate through the dense rainforests. Note that through the dense forest, the hiking route is always a bit slippery with loose gravel and you will need the trekking poles and gaiters for support. When you get to the gate, you are required to sign out, certificates are awarded (green to the hikers who made it to Gilman’s Point and gold to those who made it to Uhuru Peak). Do not forget to tip your mountain crew before boarding the safari vehicle to take you back to your accommodation where the celebrations will continue with dinner and a well-deserved shower.
9Days Northern Circuit Route Prices & Dates
Tour Reviews
There are no reviews yet.
Leave a Review